Configuration for 3Com X-Series (CLI)
Preface: how to find your gateway, i.e. router IP.
1. Connect to the Management Interface.
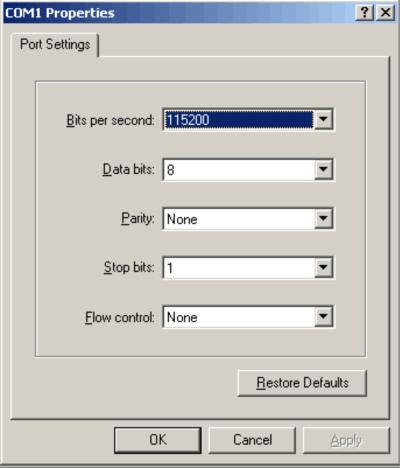
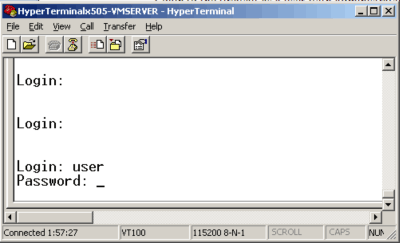
Connect to the CLI with ssh using an IP address of any of the IP Interfaces, such as the default of 192.168.1.254. Alternatively you may use HyperTerm to connect directly to the serial console with the settings of 115200-8-N-1.
HyperTerm Serial port settings:

3. Change the DNS settings to use Kibosh Shield.
Once logged into the CLI then enter the configuration terminal.
Type “config terminal”.
Disable External DNS which by default is receiving DNS settings from the ISP.
Type “dns use-external-dns disable”.
Manually enter the IP Addresses of the servers Kibosh Shield provides.
Type “dns server x.x.x.x x.x.x.x x.x.x.x”.
Primary DNS: Shield or Shield Pro
Secondary DNS: Shield or Shield Pro
DNS changes take effect instantly. You can type “show conf dns” to confirm your settings are correct.
6. Test your new DNS setting by going to www.info.com and search for abcd1234 – you should receive a Kibosh Success page.

